Quick, efficient and professional 'work'
UV LED Smartlight Pro
Instant LED-UV Curing for Osmo LED Smart-Oil Wood Finish
Osmo UV LED Smartlight Pro LUVB-20015 Lamp is the key component for the Osmo LED Smart-Oil interior hardwax system, delivering the specialised UV LED light required to cure the wood finish in seconds!
- Dries LED Smart-Oil instantly under 395nm LED-UV lamp
- Delivers the correct wavelength and intensity for reliable curing
- Helps achieve a fully cured finish in seconds
- Reduces project turnaround times by eliminating lengthy drying and curing periods
- Fully portable and suitable for workshop and on-site use
- Comes complete with protective case that also contains power cable, and two pairs of protective eye glasses (with cleaning cloths)
- Professional-grade construction
Contents Includes
- UV LED Base (1)
- UV LED Radiation unit (1)
- 230V power cable (1)
- DC connection cable for radiation unit (1)
- UV protective goggles (2)
Full overview of contents page 11-18:
Curing Osmo LED Smart-Oil
- Apply Osmo LED Smart-Oil thinly (see product information) and spread out evenly.
- Switch on the radiation unit and move the radiation unit evenly in laps over the wet surface at an approx. 2-10 cm distance and at a speed of approx. 10m/min.
- Do not stop until the end of the surface is reached.
- Radiate the surface evenly lap for lap, slightly overlapping.
- The surface is cured immediately and fully loadable.
Recommended Use
Use only with Osmo LED Smart-Oil for applications on wooden flooring, staircases, furniture, and similar.
Technical Data
Base Unit
- Input voltage: AC110V/230V
- Input power: ≈500 W
- Base dimensions: 442 × 234 × 207 mm
- Weight: 13 kg
- Control mode: switch
- Output voltage: direct current (DC)
- Length of base cable: 1 m
Radiation Unit: UVLE-200W15ALI
- Wavelength range: 395 (nm)
- Radiation area: 200×15 (mm)
- Recommended exposure height: 2-10 cm
- Cooling mode: air cooling
- Length of base – radiation unit connection cable: 7.50 m
Before Setting Up
This instruction manual is intended for operating personnel.
Before setting up, commissioning and servicing UV LED SmartLight Pro, please familiarise yourself with the instructions and recommendations in this manual.
This will enable you to use UV LED SmartLight Pro safely and optimise its performance. Care and maintenance in accordance with this manual will ensure
your safety and preserve the value of the UV LED lamp.
For personal injury or property damage resulting from improper use of the machine, the manufacturer assumes no liability!
Initial Start Up
- Plug in the power cable.
- Before switching on, plug the connection cable into the radiation unit and connect the cable to the base.
- Tighten the screw cable connectors.
- Use the main power switch on the base to switch on the device.
- Turn on the radiation unit. The device switches off when the temperature is too high.
Maintaining The Device
Checklist for inspecting the operating condition of the device:
- Is the connection from the base to the power socket and the grounding in good condition?
- Is the connector cable between the base and the radiation unit firmly connected and in good condition?
- Are the radiation unit and the air-cooling system clean?
- Are the air vents clear?
- Is the lens clean?
Cleaning The Device
Cleaning the air ventilation system:
- Caution! For safety reasons, the device must be switched off and unplugged before cleaning.
- It is prohibited to disassemble or clean the device when it is hot.
- It is prohibited to use petrol, thinners or other similar solvents for cleaning.
Cleaning the air vents:
- Wipe down the casing around the air vents with a dry soft cloth.
- If some spots cannot be removed, wipe down the area with a dry cloth with some industrial alcohol or medical alcohol.
Cleaning the fans in the radiation unit:
- Please use a vacuum cleaner to remove dust from the fans once a week.
- Dust on the fans impairs heat removal significantly.
Safety Instructions
For your own safety
Before operating UV LED SmartLight Pro, read this operating manual and always keep it handy. The UV LED lamp may only be used by persons who have been
instructed in its handling and are expressly authorised to operate it.
Attention!
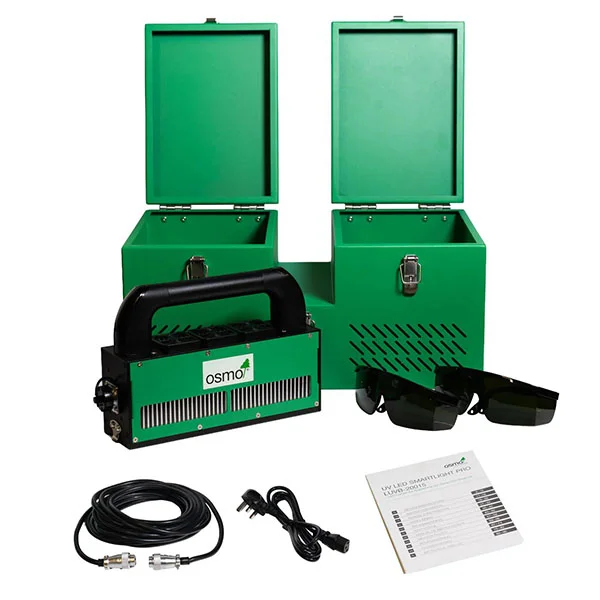
UV LED SmartLight Pro is only suitable for curing Osmo LED Smart-Oil. The safe and reliable curing of other UV-curing materials cannot be guaranteed!
Caution!
Never work with defective electrical cables. Risk of electric shock!
General
The operation of UV LED SmartLight Pro is subject to the applicable national regulations. In addition to the operating instructions and the legally binding accident prevention regulations of the country of use, the recognised technical rules for safe and professional work must also be observed. Any working practices that compromise safety must be avoided.
Avoid Injury & Damage
To avoid injury and damage, please observe the following safety instructions:
- When servicing the device or replacing spare parts, please contact the manufacturer of the device to avoid safety risks due to improper maintenance or the selection of unsuitable spare parts.
- If there is dust in the plug, please clean it in time to avoid a fire.
- Plugs must be fully inserted into the socket to prevent fires, electric shocks or short circuits.
- A grounded socket must be used to prevent damage resulting from power failure.
- Never insert the plug with wet hands to prevent electric shocks and injuries.
- Do not make any modifications. No one other than maintenance personnel may disassemble or service the device to avoid the risk of electric shock.
- During operation, the device must not be moved unnecessarily or subjected to vibrations.
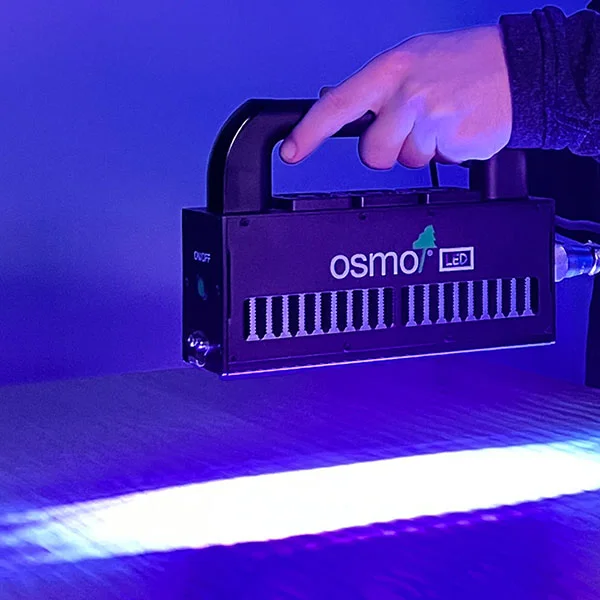
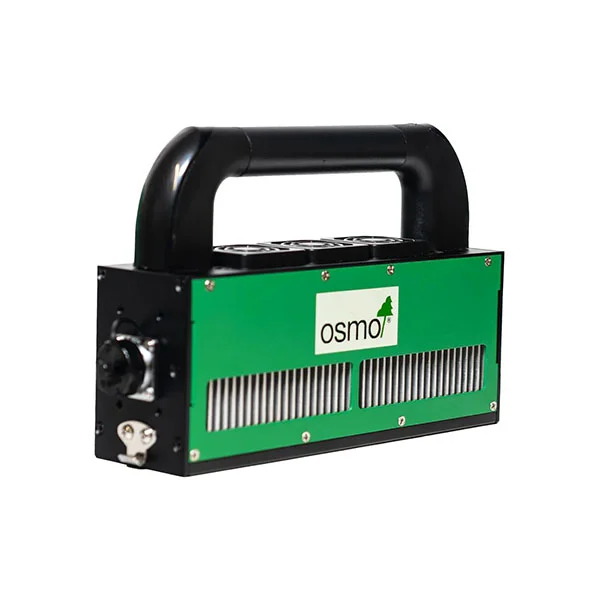
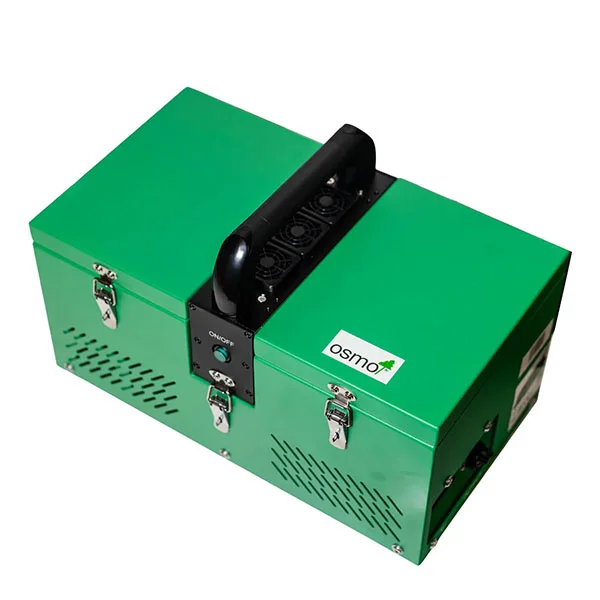
- When working, only touch the radiation unit by the handle provided for this purpose.
- Do not use the device if the mains plug or socket is damaged.
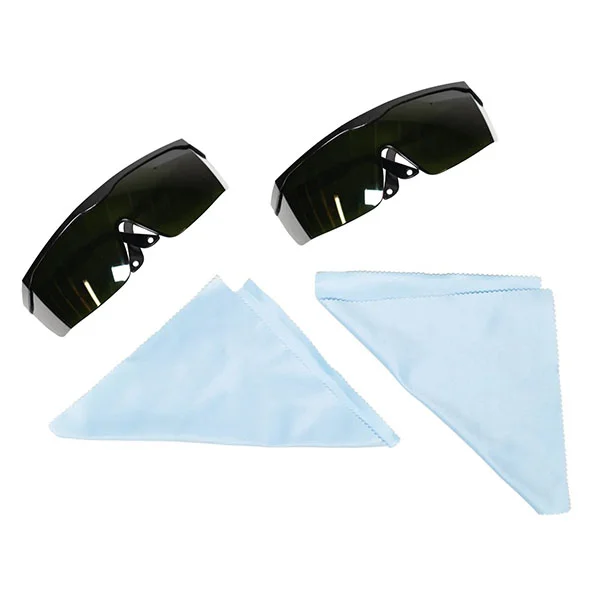
- Put on the UV protective goggles provided before switching on the radiation unit.
- Do not look directly into the UV light during operation.
- Always keep air vents and ventilation fans clear and clean them regularly.
Download the PDF Product Information. GB language on page 11-18:
A Comprehensive Overview with Restorate


